My terms for glossaries
In a project's library, in the section My terms, you can find the list of terms and expressions that you can use to create glossaries. This list of terms will be available to use in all the quizzes in a given project. You choose terms from this list when you want to prepare a glossary for any specific quiz (see).
When the quiz is published, a tab will be added to bar at the top of the page giving access to the Glossary at the end of the quiz. What's more, in every text input box, the glossary's terms and expressions are highlighted; when respondents move their cursor over a highlighted term, they will be able to see its definition in a window containing either text or a media file.
At the top of the Netquiz Web page, click on Library, then, in the menu on the left beneath the title Library, click on My terms.
The columns in the list are as follows:
Code: A unique code number assigned by Netquiz Web when the term is saved.
Term: A word or expression that you wish to highlight within the text of a quiz.
Variations: Other forms associated with the term. This can include synonyms or other grammatical forms (spelling variations, number, etc.). Unlike the glossary terms, the variations are not highlighted in the text.
Definition: This is the content the respondent will see that explains the term. Click on the appropriate radio button to enter the content.
Add text: Enter the text for the definition.
Add an image: Insert an image file saved in your library or imported from another location.
Add an audio file: Insert an audio file saved in your library or imported from another location.
Add a video: Insert a video file saved in your library or imported from another location.
Note: Comment related to a term when it was created or modified. The content of this field is not visible in the published quiz. This is used to write notes to help you manage the content or for collaboration with a colleague. It can help identify an item that you wish to note (such as something to check, complete, check copyrights for, etc.).
Modification date: Date and time that the term was last saved.
From this page, you can add a new term, modify, duplicate, export or delete a term's form.
Add a new term:
- Click on Add a new term
- Fill in the text input fields.
- Click on the Save button to save the information or click on Cancel if you do not wish to save the term.
Modify a term:
- From the list of terms, select the term you wish to modify category by clicking on the corresponding button.
- Move the cursor over the gear icon, above and to the left of the list of terms, and select Modify in the drop-down menu.
- Enter the changes in the appropriate input fields.
- Click on Save to save the changes or on Cancel if you do not want to save the changes.
Duplicate terms:
- Select the terms you wish to duplicate from the list of terms by clicking on the corresponding button.
- Move the cursor over the gear icon, above and to the left of the list of terms, and select Duplicate in the drop-down menu.
- The duplicated terms will be added to the list, preceded by an asterisk.
Export terms:
- From the list of terms, select the term you wish to export by clicking on the corresponding box.
- Move the cursor over the gear icon, above and to the left of the list of terms, and select Exporter XML in the drop-down menu.
- The forms for the selected terms will be converted into XML format.
- You can retrieve the XML file using the usual method for your computer.
Delete a term:
- From the list of terms, select the term you wish to delete by clicking on the corresponding box.
- Move the cursor over the gear icon, above and to the left of the list of terms, and select Move to recycle bin in the drop-down menu.
NOTE: Terms cannot be recovered from the recycle bin; they are permanently deleted.
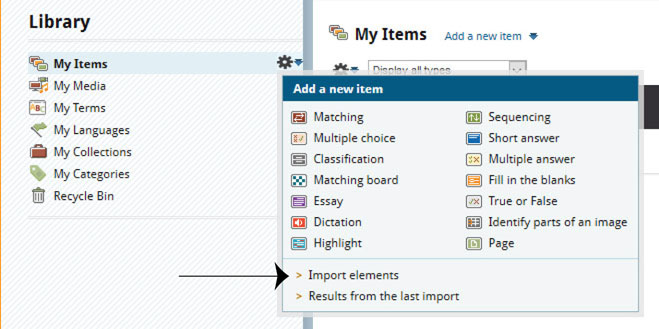
Import terms:
It is possible to import terms by using the command Import elements. You will find this in the menu My items and in the menu for My quizzes.